


No More Grease Woes: Effortless Enamel Oven Tray Cleaning Instructions
Posted on 26/05/2025
No More Grease Woes: Effortless Enamel Oven Tray Cleaning Instructions
Is your enamel oven tray covered in persistent grease stains that seem impossible to remove? Don't worry! This comprehensive guide covers effortless methods to restore your trays to sparkling cleanliness. Discover step-by-step, expert-approved enamel oven tray cleaning instructions that combine household products and smart cleaning hacks. Get ready to say goodbye to baked-on grease and hello to a sparkling oven tray!
Why Regular Enamel Oven Tray Cleaning Matters
Keeping your enamel oven trays clean is crucial for several reasons:
- Hygiene: Residual grease and old food can harbor bacteria and create unpleasant odors in your kitchen.
- Performance: Accumulated residue can affect heat distribution, impacting your cooking results.
- Longevity: Regular maintenance prevents irreversible damage and extends the life of your enamel tray.
Pro Tip: Tackling stubborn grease early makes cleaning easier and prevents buildup.
Understanding Enamel Oven Trays and Grease Build-Up
Enamel oven trays are favored for their non-stick surface and durability. However, frequent use often leads to tough, baked-on stains. Here's what you need to know:
- What is enamel? - A glassy, fused coating applied to metal trays, offering a smooth and resilient surface.
- Why does grease stick? - Grease and food debris can polymerize at high oven temperatures, leading to hard, persistent stains.
Regular cleaning and using the right products ensures that your enamel trays remain truly non-stick and free from unsightly grime.
The Golden Rules: Preparing for Effortless Cleaning
Before diving into oven enamel tray cleaning, it's essential to prep your tray for best results:
- Allow to cool: Never attempt to clean a hot tray to prevent burns and protect the enamel surface.
- Lightly scrape off food debris: Use a wooden or silicone spatula to avoid scratching.
- Remove removable components: Take out wire racks or inserts for separate cleaning.
Never use metal scourers or harsh abrasives - these can scratch and damage the enamel, reducing its effectiveness and aesthetics.
What You'll Need for Effortless Enamel Tray Cleaning
Gather these household essentials to clean your enamel oven trays:
- Baking soda (bicarbonate of soda)
- White vinegar
- Dish soap (a strong degreaser is ideal)
- Non-abrasive sponge or cloth
- Hot water
- Optional: Lemon juice, commercial oven cleaner suitable for enamel surfaces
- Gloves to protect your hands
With these items, you're ready to tackle grease with confidence!
Step-by-Step Enamel Oven Tray Cleaning Instructions
1. Quick Soak Method for Everyday Messes
- Fill your sink or basin with hot, soapy water - use a good squirt of dish soap.
- Submerge the tray and allow it to soak for at least 30 minutes. For even better results, leave it overnight.
- Gently scrub with a soft sponge, focusing on greasy patches and stuck-on residue.
- Rinse thoroughly and dry before returning to the oven.
This method is perfect for routine cleaning and minor stains on enamel oven trays.
2. Baked-On Grease? Try the Baking Soda & Vinegar Trick
- Sprinkle baking soda liberally over the greasy, stained areas of the tray.
- Spray or drizzle white vinegar on top of the baking soda until it starts to fizz.
- Let the mixture sit for 15-30 minutes, allowing the chemical reaction to break down the grease.
- Wipe with a damp cloth or sponge, repeating if stains persist.
- Rinse and dry.
This classic enamel oven tray cleaning hack is highly effective at dissolving stubborn, baked-on grease without scrubbing for hours.
3. The Lemon Power Deep Clean
- Sprinkle baking soda over the tray.
- Cut a lemon in half, then use the cut side to rub the baking soda in circular motions over the sticky areas. The citric acid helps break down grease naturally!
- Rinse thoroughly to remove residues, and dry with a towel.
This eco-friendly solution leaves your enamel tray both clean and delightfully fresh.
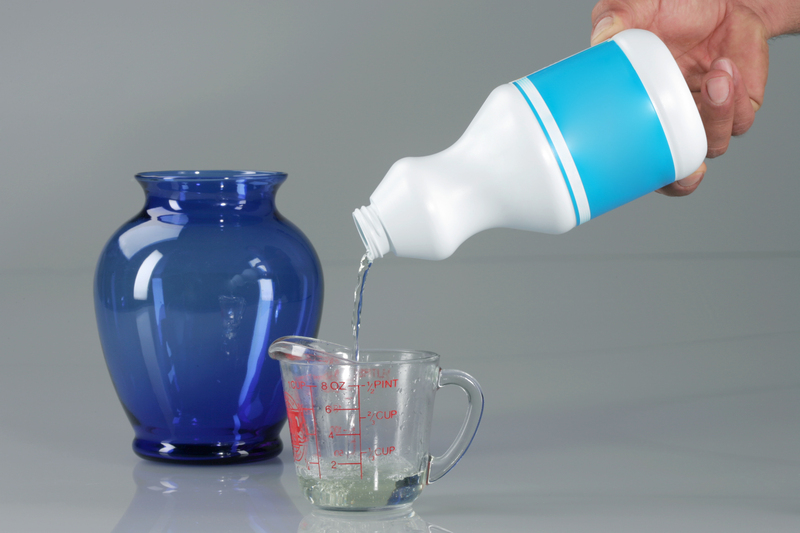
4. Tackling Stubborn Grease With a Commercial Cleaner
- Choose a cleaning product that's safe for enamel. Read labels carefully!
- Apply the cleaner following the manufacturer's instructions. Usually, this involves spraying and leaving the product for a set time.
- Wipe away grime with a non-abrasive sponge.
- Rinse thoroughly to remove all cleaner traces before use.
Warning: Avoid prolonged use of harsh chemicals, as they can wear down the enamel coating over time.
Enamel Oven Tray Cleaning Tips for Stubborn Stains
- Repeated Baking Soda Blasts: For exceptionally tough stains, repeat the baking soda and vinegar application.
- Make a paste: Mix baking soda with a small amount of water to form a paste, apply to stains, and leave overnight for maximum effect.
- Low heat treatment: Place the tray in a warm oven (not hot! - around 60?C/140?F) for 10 minutes after applying the paste to help loosen the grime.
- Use a plastic scraper: For very baked-on bits, gently use a plastic scraper rather than a metal one to protect the enamel.
Persistence and patience are key for restoring heavily soiled oven enamel trays. Never use steel wool or abrasive pads!
What to Avoid When Cleaning Enamel Oven Trays
- Harsh abrasives: These can scratch, dull, or permanently damage the enamel surface.
- Metal utensils: Always opt for silicone, plastic, or wood when removing tough food debris.
- Drastic temperature changes: Shocking a hot enamel tray with cold water can cause cracking or chipping.
- Leaving trays soaking endlessly: Extended soaking with harsh chemicals or too much moisture can damage enamel over time.
Maintaining Sparkling Clean Enamel Oven Trays
Once you've conquered stubborn stains, routine care will keep your enamel trays looking new.
Preventative Care and Smart Habits
- Line your oven tray with parchment paper, non-stick baking mats, or reusable liners during messy roasting or baking.
- Wipe off minor spills promptly before they have a chance to bake on and harden.
- Wash trays soon after use while food residue is fresh and easier to remove.
Quick Weekly Cleaning Routine:
- After each use, allow the tray to cool, then wash with hot, soapy water using a soft cloth.
- Every week or two, assess for stubborn stains and use the baking soda-vinegar method as needed.
When Is It Time to Replace Your Enamel Tray?
Even with the best enamel oven tray cleaning instructions, some damage is irreversible:
- Chips or cracks: Exposed metal may rust or leach into food.
- Widespread discoloration: If stains don't lift with repeated gentle cleaning, your tray may not perform at its best.
Essential FAQs: Enamel Oven Tray Cleaning Made Easy
-
Can I use my dishwasher for enamel oven trays?
Some enamel trays are dishwasher-safe, but frequent dishwashing and harsh detergents can dull their finish. Stick to gentle, manual cleaning when possible. -
Why does my enamel tray look dull after cleaning?
Overuse of abrasives or harsh chemicals can diminish the sheen. Restore shine by gently rubbing with a solution of vinegar and water followed by thorough rinsing. -
My tray still smells after cleaning. What can I do?
Try soaking with a mixture of hot water, a few tablespoons of baking soda, and lemon juice. Rinse well and dry in direct sunlight if possible. -
Are commercial oven cleaners safe for enamel?
Only use products labeled as safe for enamel. Always rinse thoroughly to remove any chemical residue before using the tray again. -
How often should I clean my enamel oven trays?
For best results, aim for a quick wash after every use and a deep clean monthly or as soon as you spot stuck-on grime.
Conclusion: No More Grease Woes--Your Effortless Path to Spotless Enamel Oven Trays!
With these practical enamel oven tray cleaning instructions, you can confidently tackle any level of grease or baked-on grime. From quick soaks to tried-and-true baking soda methods, your path to spotless trays is simple and effortless. With a little routine maintenance, your enamel trays will remain a reliable, hygienic centerpiece of your kitchen for years to come.
Remember: The secret to a gleaming oven tray lies in regular care, gentle cleaning techniques, and prompt attention after cooking. No more grease troubles--restore your enamel trays to pristine perfection today!
Ready to enjoy cooking without worrying about baked-on mess? Keep these easy enamel oven tray cleaning instructions handy and savor the results every time you bake, roast, or grill.
Latest Posts
Expert tips to keep your uPVC window frames looking new
Advanced Techniques for Pristine Window Cleaning
Essential Equipment for Pristine Carpets